
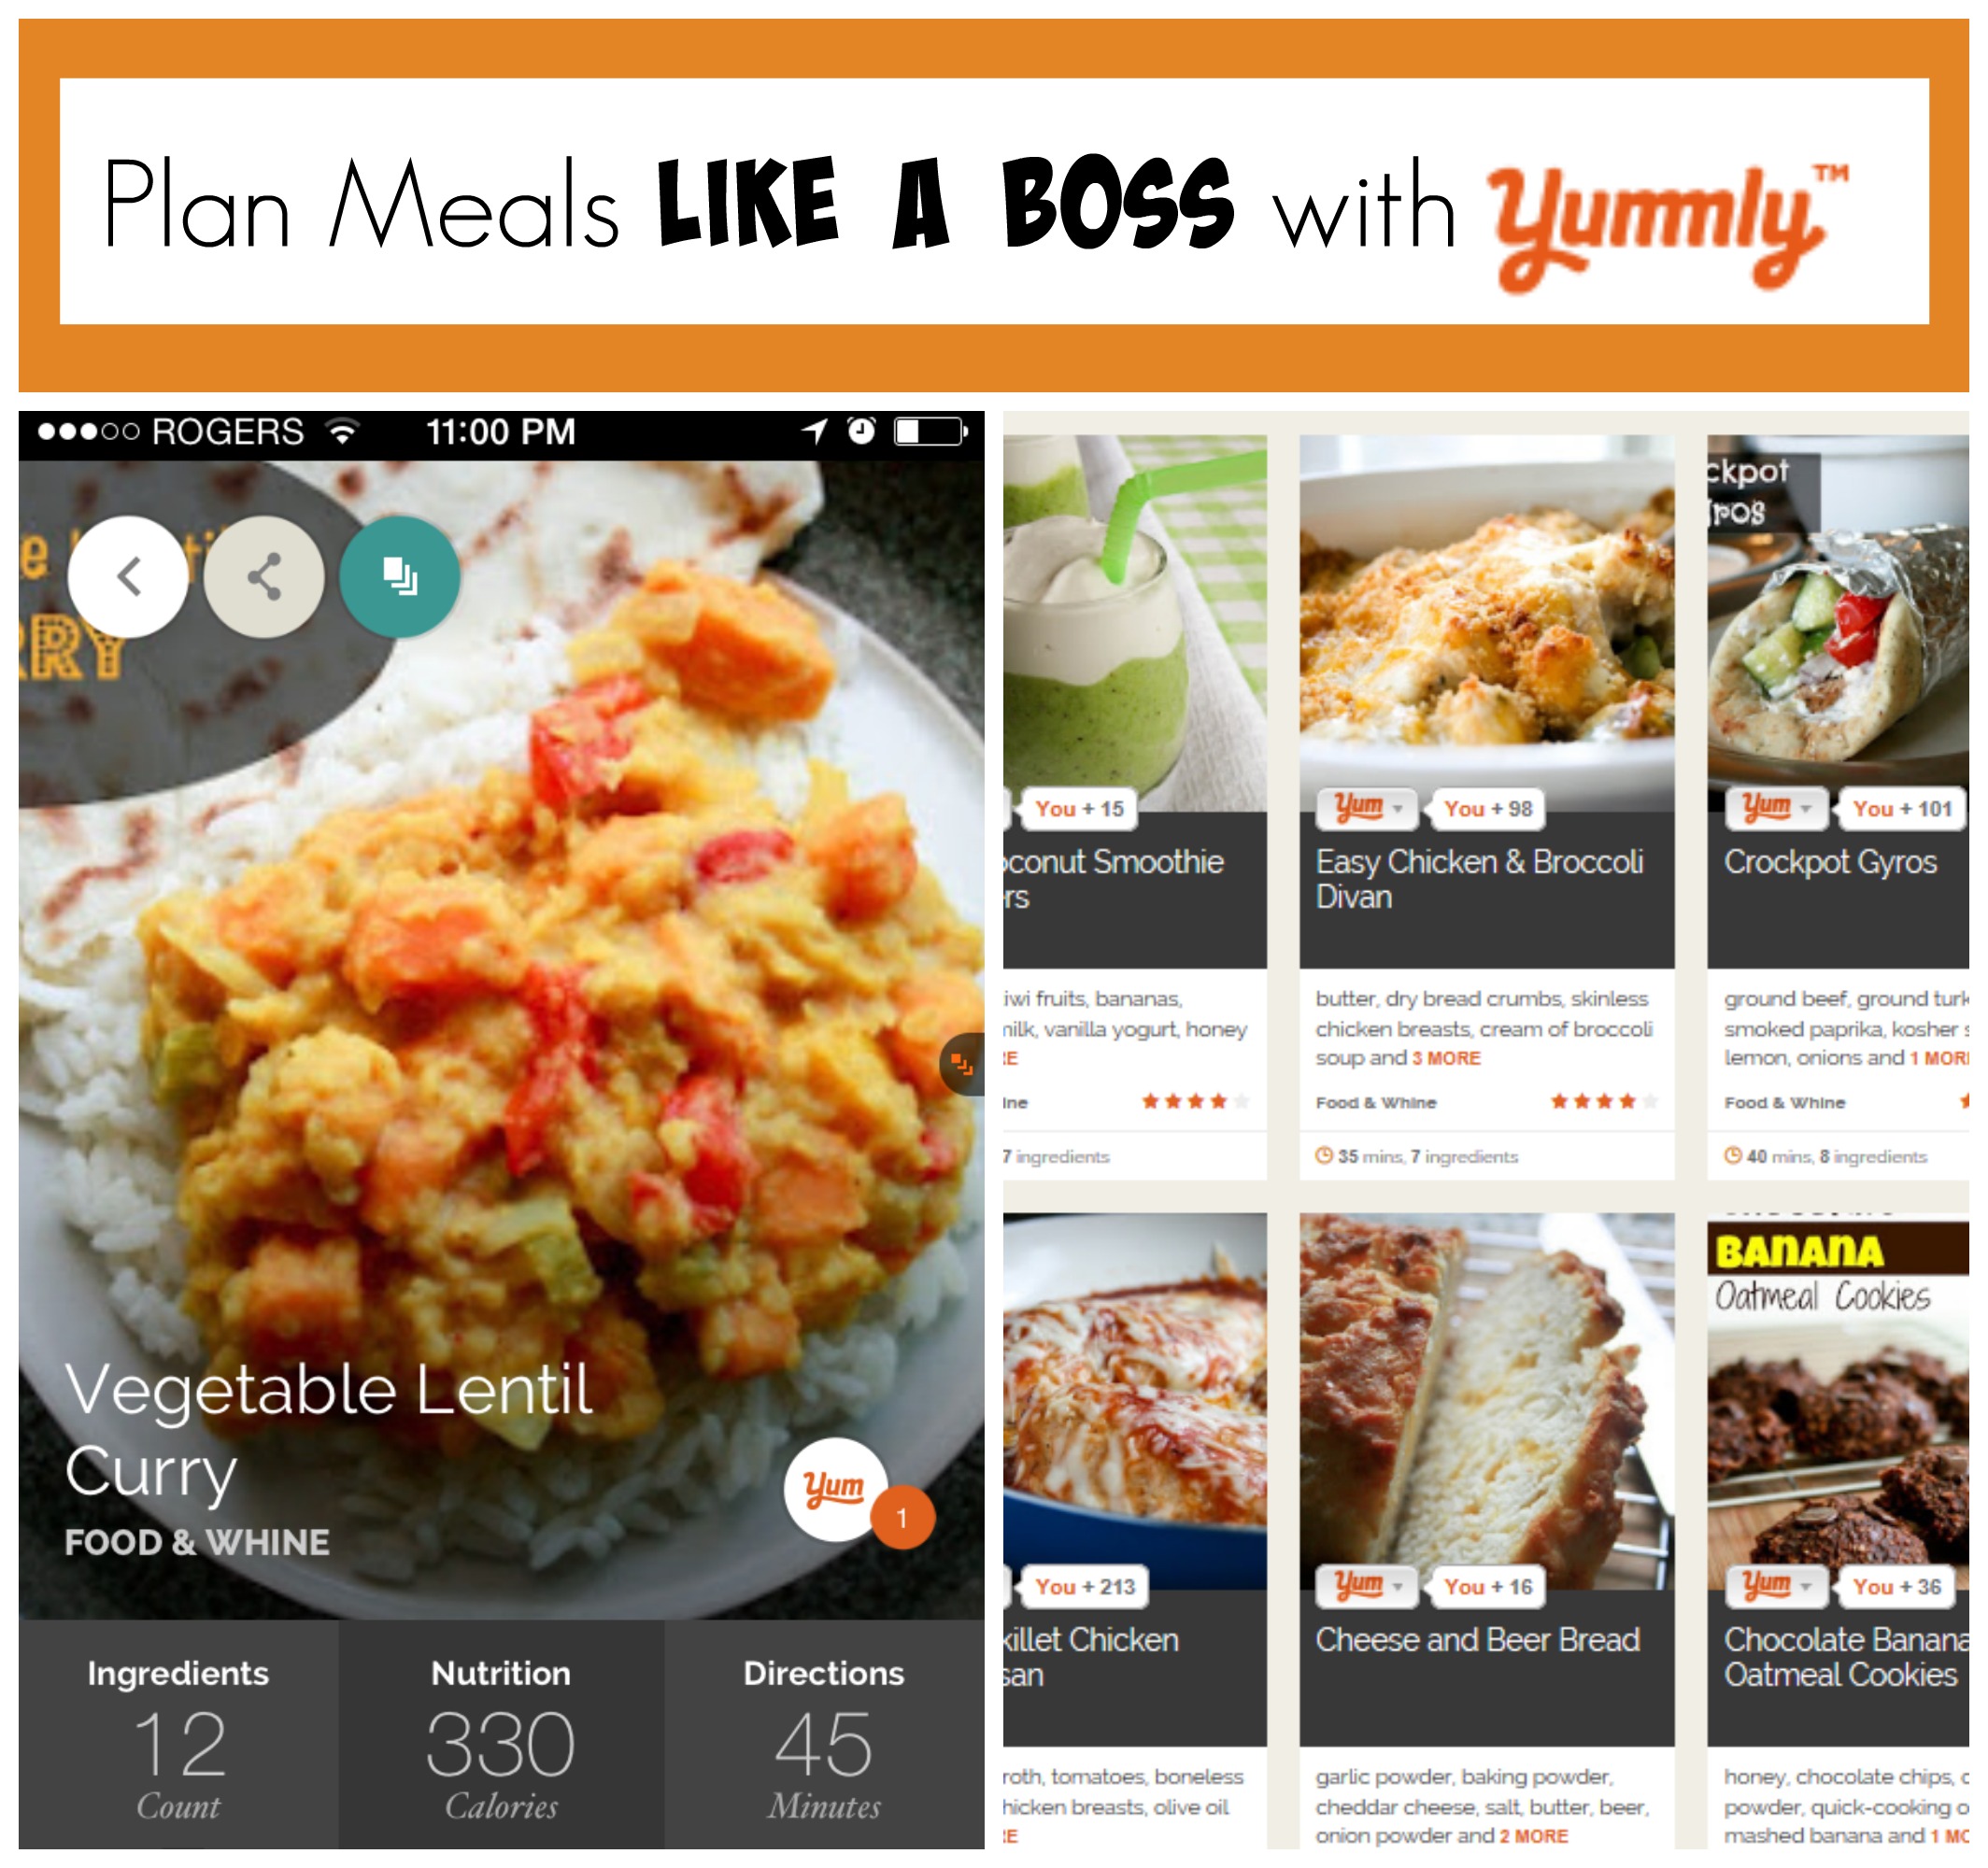
I recently discovered Yummly and I’m totally hooked on it! Whether you’re a food blogger wanting to increase your traffic, or you’re simply looking for a better way to organize and plan your meals, this is a really helpful tool. So here’s a tutorial on how to use Yummly, if you’re not familiar with it already. Or even if you are, you might just learn something new.
What’s this Yummly all about?
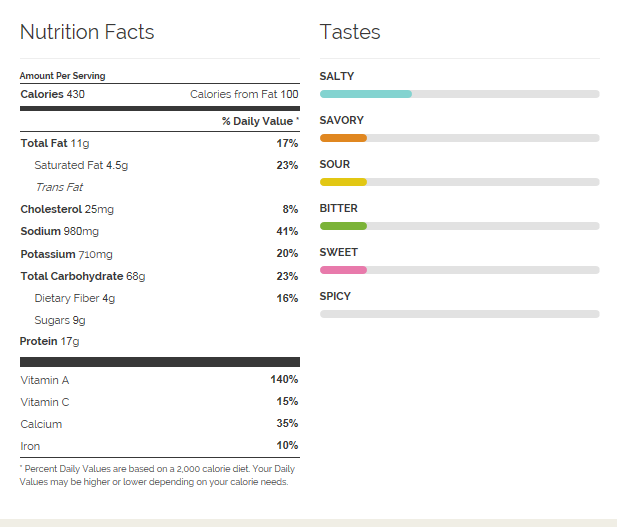
Basically, it’s like Pinterest, but for recipes. One of the great things about Yummly is that it provides more recipe information than Pinterest’s rich recipe pins, including nutritional info and tastes.
It’s super intuitive, almost magically so. Even on my older recipes where I didn’t use a recipe plugin, Yummly is able to create a detailed profile of my recipe. And when I don’t include things like serving size and cooking time in my recipes, it can actually guess these things, and usually pretty accurately. It’s not perfect, of course, but still impressive!
How do you “yum” a recipe?
You can get a Yummly bookmarklet to put on your browser’s tool bar, so you can click on it whenever you come across a recipe on the web that you want to save.
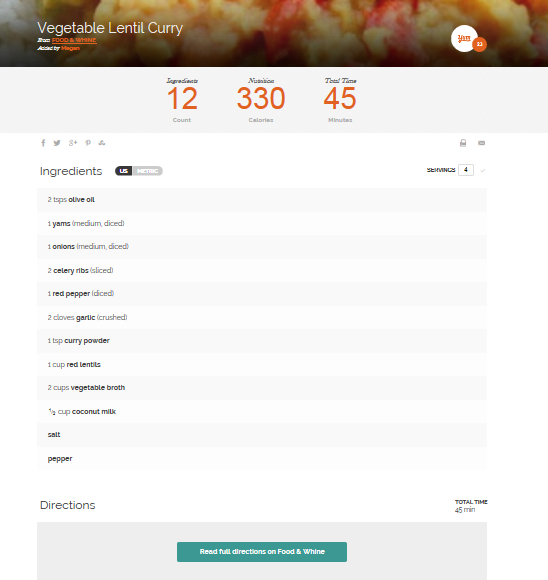
For bloggers on WordPress, you can use the Yummly Rich Recipe plugin so your readers can easily “yum” your recipes. Here’s an example of a recipe using this plugin. See how it has the yum button integrated?
[amd-yrecipe-recipe:9]
Or bloggers can use social sharers that include the yum button, like AddToAny, Shareaholic, or Simple Share buttons.
OK, I “yummed” a recipe…now what?
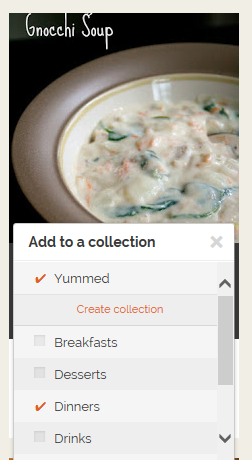
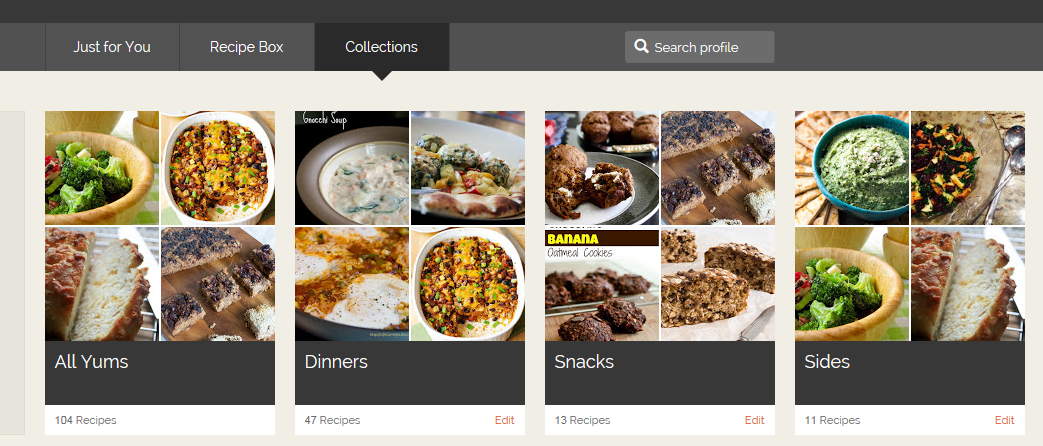
Now the recipe shows up in your Recipe Box. You can organize your recipes into categories by clicking on the yum button of a recipe and selecting a collection or creating a new one.
To view all of your collections (similar to Pinterest boards), click on the “collections” tab.
Another very cool feature is the “Just for You” section. Like I said before, Yummly is very intuitive. It creates a customized selection of recipes you might like, based on the kind of recipes you’ve previously yummed.
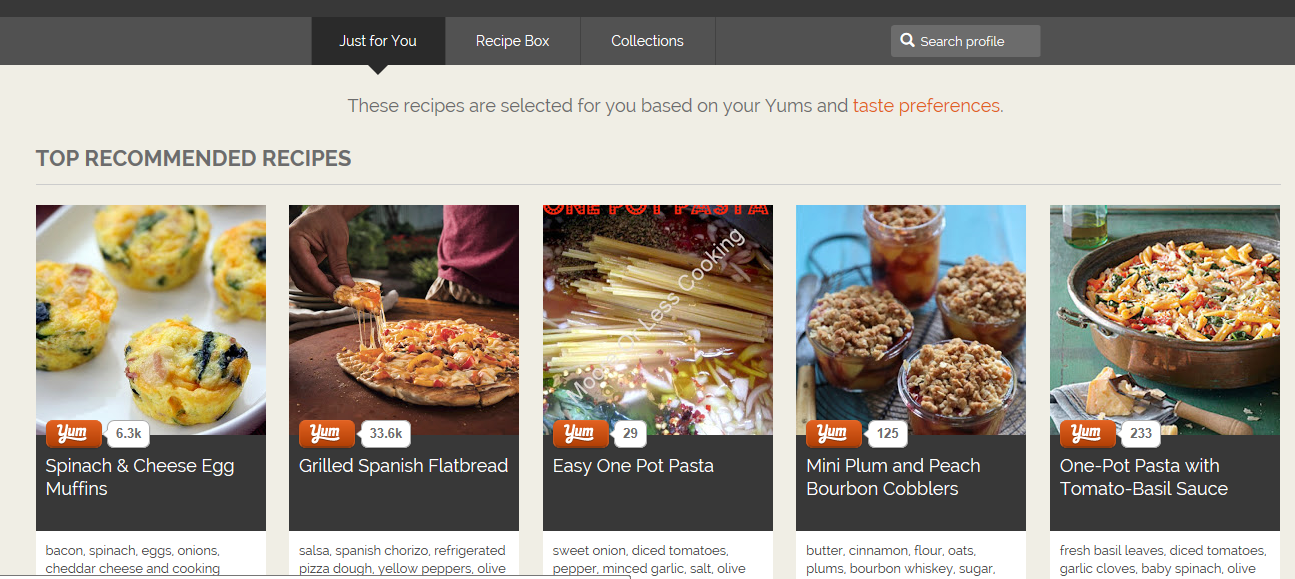
You can customize it even further in your account settings by telling Yummly about things like your preference and cooking skill level.

How can Yummly help me plan meals?
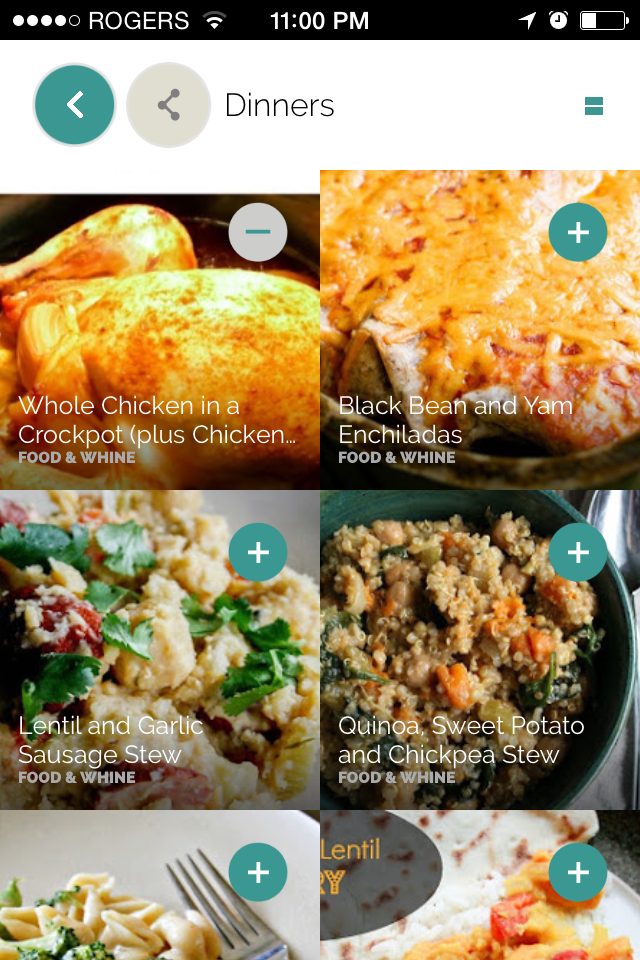
If you get the Yummly mobile app, you’ll be amazed how easy it is to plan your meals. It allows you to create a shopping list from recipes you’ve selected from your recipe box.
All you have to do is click on the plus sign in the right hand corner of your recipe, and it adds the ingredients from that recipe to your shopping list.
If you have trouble deciding what meals to add to your menu plan, here’s a good tip: try to choose meals with some of the same ingredients in them, so that you have less ingredients to shop for. Yummly helps with this, because you can select one of the ingredients on your list and search for related recipes.
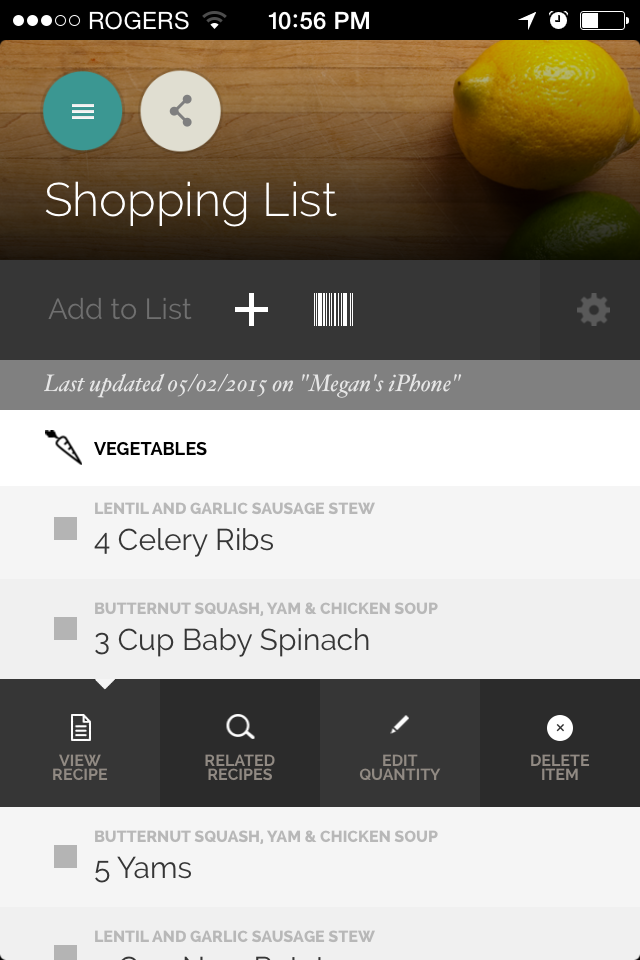
When you have all of your recipes selected, go to your shopping list and clean it up a little. Yummly will show you when an ingredient is used in more than one recipe, so if you want, you can combine the amounts into one line.
Check off any of the ingredients you already have, and they will go into the “got it” category so you know you don’t need to shop for those. And you can add anything else you need to shop for that isn’t included in the recipes.
Now here’s the part I like: you can share your shopping list by email or text!
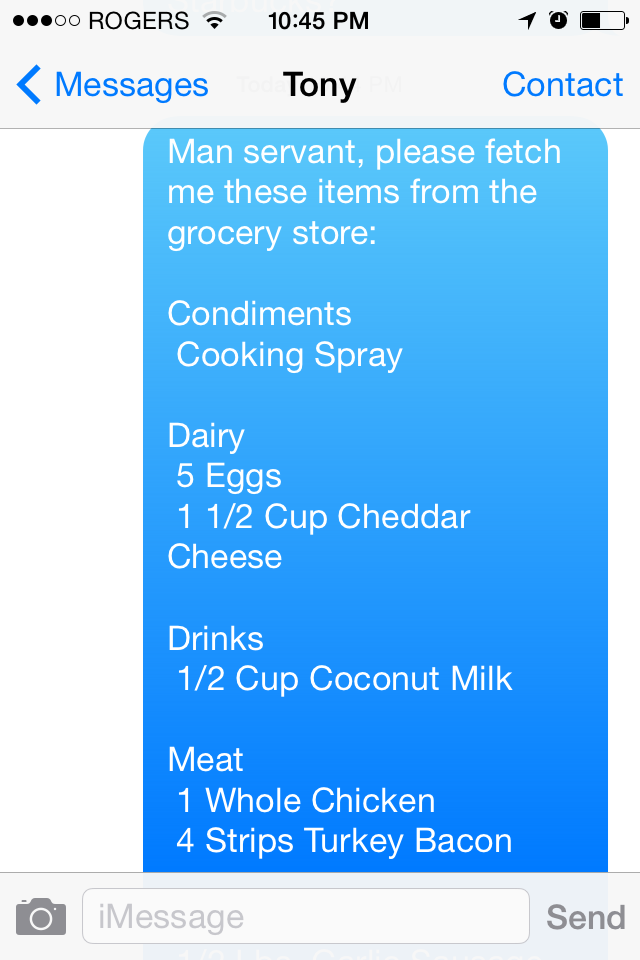
It even puts the ingredients into nicely organized categories so you (or your man servant) can navigate the grocery store sections with ease.
Here’s an example shopping list and meal plan that I put together with help from Yummly, using recipes from my blog:
Menu Plan:
Whole Chicken in the crockpot, steamed broccoli, mashed yams
Butternut Squash, Yam & Chicken Soup
Gnocchi and Chickpea Skillet Dinner
Vegetable Lentil Curry with Naan and Rice
Shopping List:
Bakery
- 2 Tbs Flour
- Naan
Condiments
- 4 teaspoon Olive Oil
- Pepper
- Salt
- Hot Sauce
- Paprika
- 1 teaspoon Curry Powder
- 1 teaspoon Oregano
- 1 teaspoon Vinegar
- Garlic Powder
- Cooking Spray
- Seasoning Salt
Dairy
- 4 Tbs Butter
- 5 Eggs
- 2 Tbs Feta Cheese
- 2 1/4 Cup Milk
- 1 1/2 Cup Cheddar Cheese
Drinks
- 1/2 Cup Coconut Milk
Meat
- 1 Whole Chicken
- 4 Strips Turkey Bacon
- 2 Cup Cooked Chicken
Pasta
- 3 Cup Pasta Shells
- 1 cup Rice
Soups
- 1 Pkgs. Vegetable Bouillon Cubes
Vegetables
- 1 Tomatoes
- 5 Cloves Garlic
- 1 teaspoon Basil
- 3 Heads Broccoli
- 3 Onions
- 1 Butternut Squash
- 4 Yams
- 3 Cup Baby Spinach
- 1 Red Pepper
- 2 Celery Ribs
- 1 Jars Artichoke Hearts
- 1 Cup Mushrooms
- 1 Cup Red Lentils
- 19 Oz. Garbanzo
- 1/4 Cup Fresh Parsley
- 1/2 Tbs Fresh Thyme
- 1 Russet Potatoes
- 1/4 Cup Green Onions
It doesn’t take much time at all to create a meal plan once you get familiar with using the Yummly app. I’m still learning about all of the features, so if you have any hints or tips on how to use Yummly, please share them with me.
Check out Food & Whine’s Yummly page, were you can find and yum recipes from this blog.
Happy Yumming!

Thanks for creating this post! Yummly has been unknown (read: daunting!) to me so far, but your thorough explanations have gone a long way to demystifying it for me. Cheers 🙂
LikeLike
You’re welcome! I’m glad you found it helpful 🙂
LikeLike